Precautions for using lab graphite furnace
 10-23-2025 Author: KJ technology
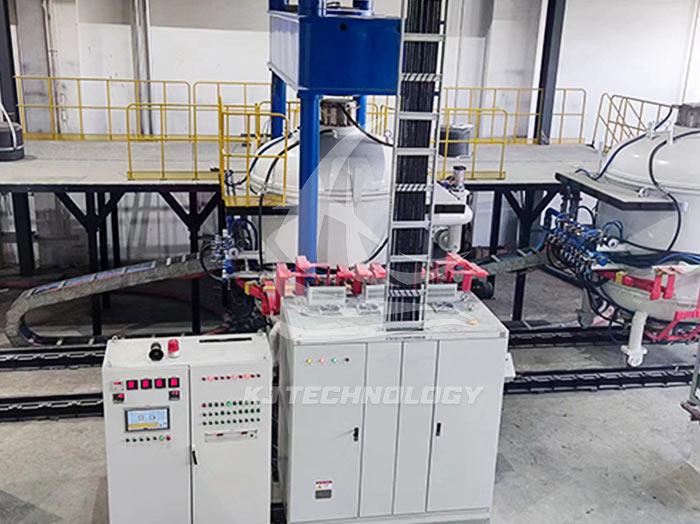
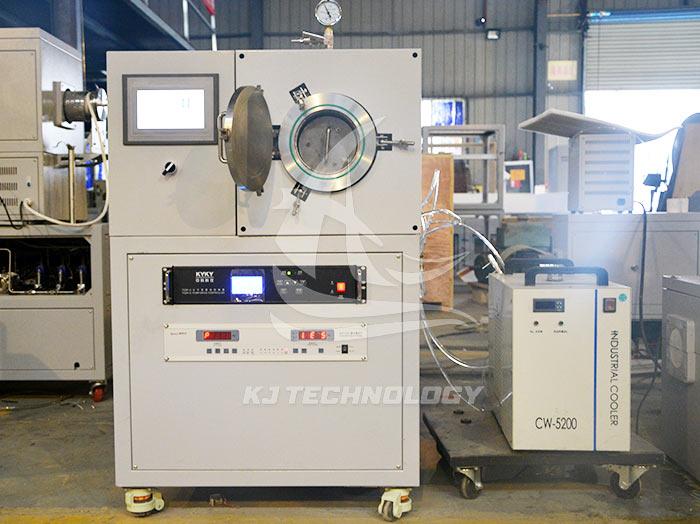
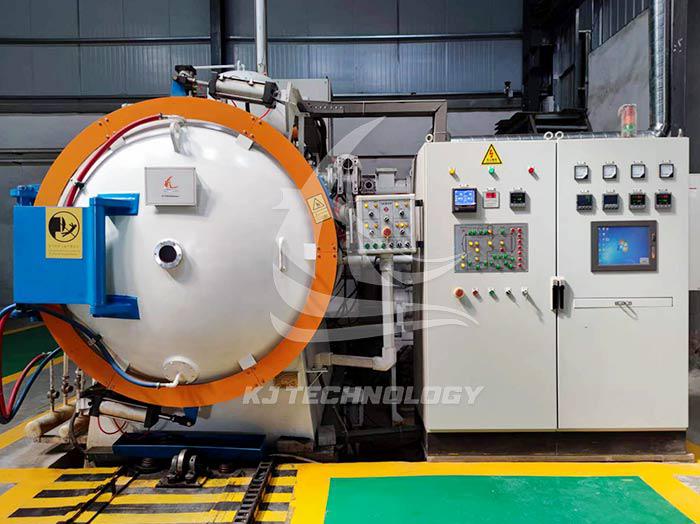
The laboratory graphite vacuum furnace is a key equipment in high-temperature, vacuum, and controlled atmosphere environments, and its safe and efficient operation requires strict adherence to operating standards. The following are the core precautions for use, covering four aspects: safety, operation, maintenance, and emergency response:
1. Security protection: prevention first, risk avoidance
Gas leakage and explosion protection
Hydrogen usage:
The concentration should be controlled within ≤ 5% (volume ratio), equipped with a hydrogen concentration alarm to monitor real-time leaks in the furnace and pipelines.
Open flames, static electricity, and high-temperature equipment are prohibited around the furnace body, and exhaust outlets should be kept away from ventilation openings.
Toxic gas treatment:
Gases such as carbon monoxide (CO) need to be purified through exhaust treatment systems (such as combustion and catalytic oxidation) before being emitted.
Operators need to wear gas masks, and the laboratory should maintain negative pressure ventilation.
High temperature burns and burn protection
The surface temperature of the furnace can reach over 300 ℃, and it is necessary to wear insulated gloves, protective clothing, and goggles during operation.
When replacing heating elements (such as graphite heating elements), it is necessary to wait for the furnace body to cool to room temperature (≤ 50 ℃) before proceeding.
Vacuum system safety
Before vacuuming, confirm that the furnace door is well sealed to avoid sudden pressure changes caused by air leakage.
When breaking the vacuum, dry nitrogen gas should be slowly introduced to prevent sudden pressure increase from damaging the furnace structure.
2. Operating standards: precise control to ensure process quality
Loading and fixing
Workpiece placement:
Metal or ceramic workpieces should be evenly distributed to avoid local overheating or uneven temperature.
Sharp edged workpieces need to be wrapped in graphite paper to prevent scratching the graphite components inside the furnace.
Graphite mold selection:
Customize the mold according to the shape of the workpiece to ensure it matches the size of the furnace cavity (gap ≤ 5mm).
Mold pre sintering treatment (800 ℃~1000 ℃) eliminates stress and prevents high-temperature deformation.
Atmosphere control
Gas purity:
The purity of inert gases (such as argon) should be ≥ 99.999%, and the purity of hydrogen should be ≥ 99.99%.
Gas flow meters need to be calibrated regularly with an error margin of ≤± 1%.
Atmosphere switching:
After vacuum sintering, nitrogen gas needs to be introduced first to replace residual gas, and then switched to hydrogen gas or mixed gas.
Turn off all ignition sources during atmosphere switching and continuously monitor oxygen concentration (≤ 20 ppm).
temperature control
Heating curve:
Metal sintering: room temperature → 500 ℃ (slow speed, excluding adsorbed gases) → target temperature (fast speed).
Ceramic sintering: room temperature → 1000 ℃ (medium speed, avoid thermal shock) → insulation stage (precise temperature control).
Insulation time:
Adjust according to the material thickness (such as insulation for 2-4 hours for 10mm ceramics) to ensure complete phase transition.
3. Maintenance: Extend lifespan and reduce failure rate
Daily cleaning
Cleaning inside the furnace:
After each experiment, use a vacuum cleaner to remove graphite debris to avoid carbon deposition affecting the vacuum degree.
The surface oxide layer of graphite heating element needs to be gently sanded with sandpaper (pay attention to consistent direction).
Observation window maintenance:
The quartz observation window needs to be wiped with a dust-free cloth to avoid scratches that may affect the observation effect.
After long-term use, the light transmittance should be tested (replaced when it is ≤ 85%).
Seal inspection
Furnace door sealing ring:
Check for cracks or aging every month, and the replacement cycle is usually 1-2 years.
Avoid using organic solvents during cleaning to prevent the sealing ring from expanding.
Vacuum valve:
Regularly lubricate the valve shaft to prevent sticking and air leakage.
The sealing surface of the valve should be wiped with an alcohol cotton ball to remove metal particles.
Electrical system testing
Temperature controller calibration:
Compare the actual temperature inside the furnace with standard thermocouples every quarter, and adjust the parameters when the error exceeds ± 5 ℃.
Heating element resistance:
Measure the resistance value of the graphite heating element, and replace it if the deviation from the initial value is greater than 10%.
4. Emergency response: rapid response, reducing losses
Vacuum system malfunction
Phenomenon: The vacuum degree cannot reach the set value (such as ≤ 10 ⁻³ Pa).
handle:
Check the oil level of the mechanical pump and the diffusion pump, and replenish or replace the pump oil.
Detect the gas leakage rate of the furnace body (helium mass spectrometer leak detector), with a focus on checking the flange connections.
Temperature out of control
Phenomenon: The actual temperature exceeds the set value by more than 20 ℃.
handle:
Immediately cut off the heating power and manually open the cooling water valve to force cooling.
Check if the PID parameters of the temperature controller have been incorrectly modified or if the thermocouple has detached.
gas leak
Phenomenon: The hydrogen alarm sounds or an irritating odor is smelled.
handle:
Quickly close the gas main valve and turn on the exhaust system (air exchange rate ≥ 12 times/hour).
Evacuate to a safe area and cover the leakage point with a foam extinguisher (no water is allowed).
5. Personnel training and record management
Operation Training
New personnel need to pass theoretical exams (such as vacuum system principles, gas safety) and practical assessments (such as loading and temperature settings).
Regular refresher training (at least once a year), updating safety regulations and equipment operation guidelines.
Experimental Record
Record key parameters: vacuum degree, temperature curve, gas flow rate, workpiece status.
Archive period: At least 3 years for quality traceability and fault analysis.


